QGIS Integration
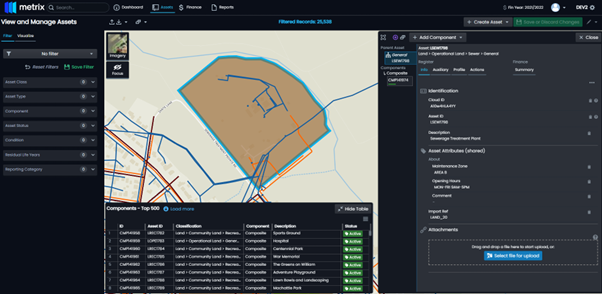
The Metrix Asset Management system QGIS Plugin enables users to swiftly and easily access their Asset Records directly within the QGIS interface. This provides the capacity to:
- Edit Geometries using QGIS’s powerful editing suite of tools,
- Create detailed maps with custom styling and layouts,
- Overlay other user data for custom integrations
Install
QGIS 3.16 or above is required to use this Integration
To install the QGIS Plugin we will use the Plugin Manager to add new plugin repository in order to make sure you can receive the latest plugin versions updates when they are released.
-
Select ‘Plugins -> Manage and Install plugins..’
-
Select ‘Settings’
-
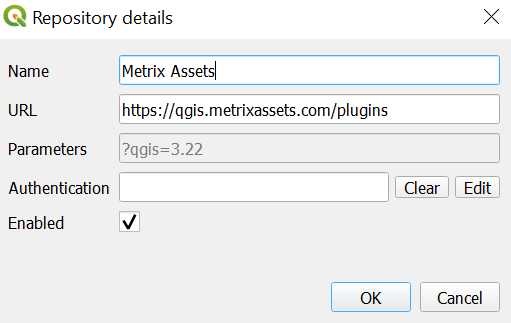
In the ‘Plugin’ Repositories section select ‘Add’
-
Use the following details
- Name: Metrix Assets
- URL: https://qgis.metrixassets.com/plugins
-
Click ‘Ok’ to add the new repository
You should now have two plugin ‘Plugin Repositories’ shown; the official one and the Metrix Assets one
-
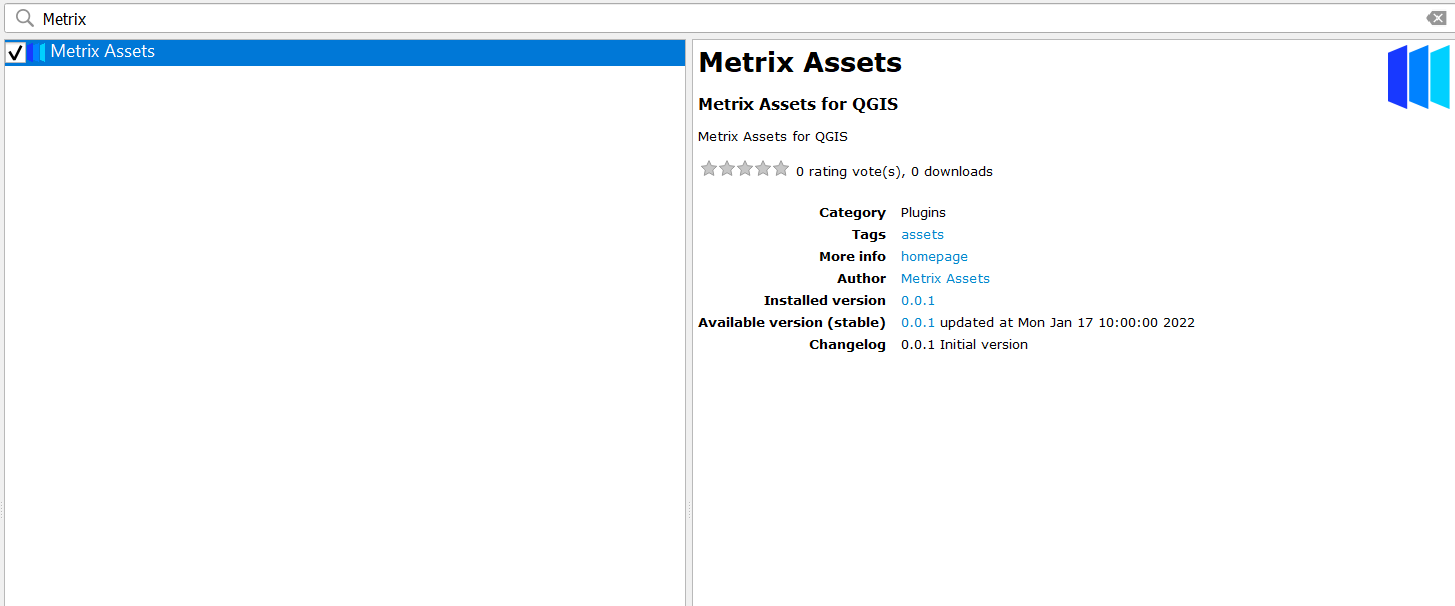
Select the ‘All’ side menu item to show all available plugins
-
Search for ‘Metrix Assets’ and select ‘Install’
Setting Up a Connection
To begin using the QGIS plugin for Metrix Assets we first have to create a connection to the Cloud Portal. To do this:
-
Right click on the Metrix Assets node in your QGIS Browser.
-
Select ‘Connection Settings…’ from the dialogue menu.
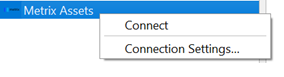
NOTE: These options are also available from the Plugin’s Menu Bar.
-
In the resulting dialogue box, set the ‘Client ID’ based on your normal Metrix Assets Portal URL. For example; for a Metrix Assets Portal of
http://demo.Metrixassets.comthe ‘Client ID’ will bedemo.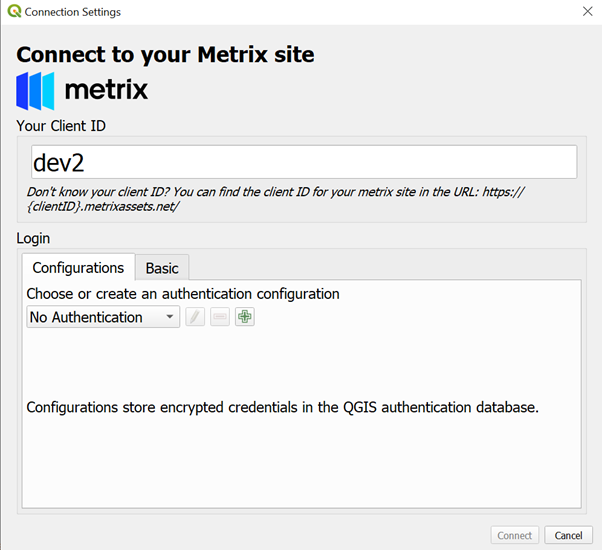
-
The next step is to setup the Authentication parameters (username and password).
-
Click the ‘+’ icon to begin adding your Authentication parameters.
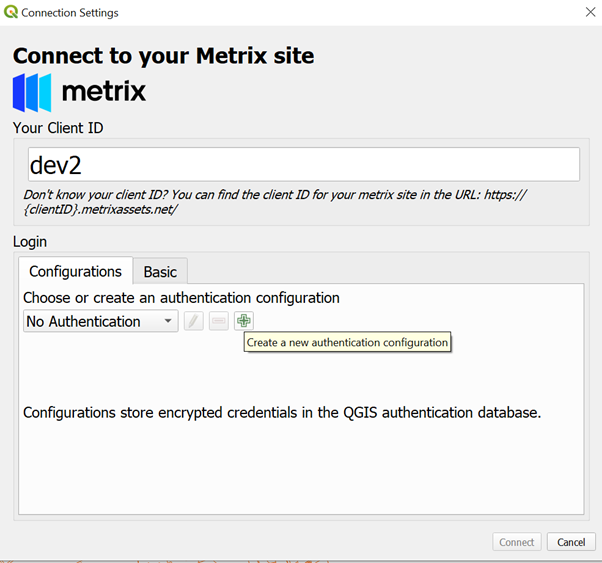
NOTE: QGIS maintains its own secure Authentication Parameter store. If you have never setup Authentication Parameters in QGIS before, you will be prompted for a Master Password that secures and encrypts the Parameter Store on your local machine.
-
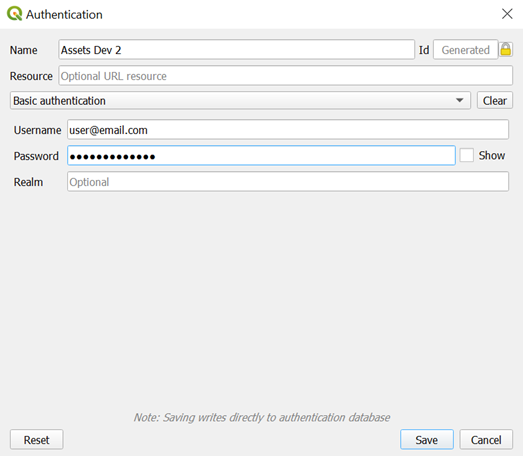
In the resulting dialogue box, set the following:
- Name: This is simply a name that can be used to edit this Authentication Parameter at a later date - set it to whatever works best.
- Username: The email address you sign into Metrix Assets with.
- Password: The password you use to sign into Metrix Assets with.
-
Click Save once the above parameters are set.
-
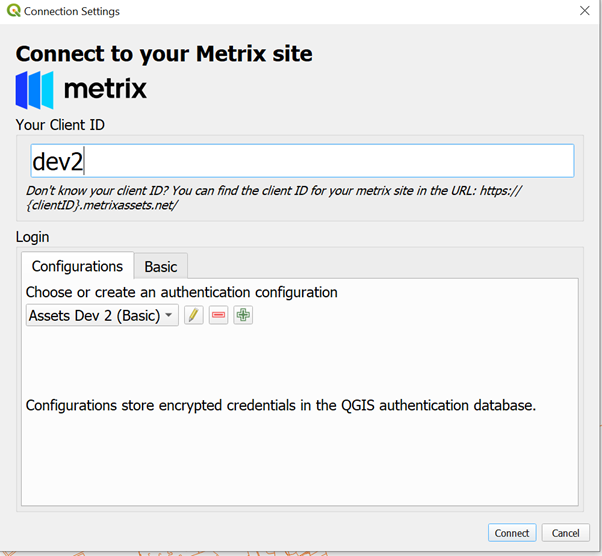
You will be taken back to the ‘Connection Settings’ dialogue box with all the required settings now established. To connect to your data, simply click ‘Connect’ with the Authentication Configuration you defined in the ‘Authentication Configuration’ menu.
Loading Data using the Metrix Assets QGIS Plugin
Once you have setup a connection to your Metrix Assets environment, accessing your available layers can be achieved using the QGIS Browser Panel node ‘Metrix Assets’. To do this:
-
If not already connected, right click on the ‘Metrix Assets’ node in the QGIS Browser Panel and click ‘Connect’.
-
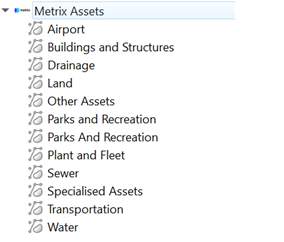
Once connected, expand the ‘Metrix Assets’ node in the QGIS Browser Panel to display the layers available. Each layer is constructed by a complete Asset Class.
-
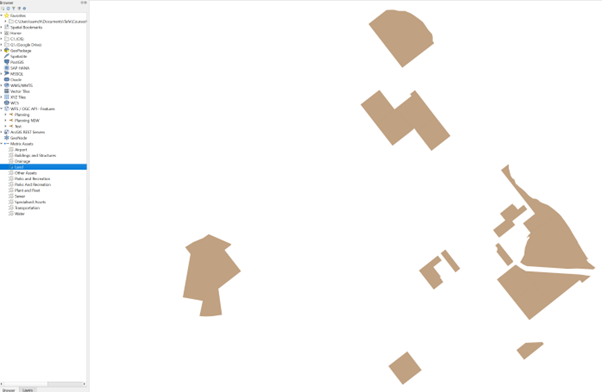
To add a layer to the map, simply double-click the layer, or drag it into the map.
-
From this point, the geometries in the layer can be manipulated just like any other layer in QGIS. That is, to make an alteration to the layer, toggle editing for the layer and process your changes from there, using any native QGIS tools.
NOTE: Attribute management is NOT currently supported by the tool.
-
Just like standard QGIS methodology, when you have finished making your alterations, simply toggle editing and Save the changes. At this point, your changes have been saved to a local cache on your local machine.
-
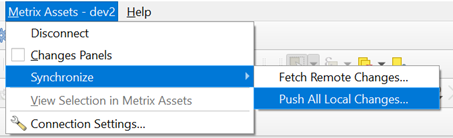
The final step is to synchronise these changes with the Cloud. To do this, navigate to the Plugin’s Menu bar and expand the ‘Synchronise’ sub-menu. From this sub-menu, select ‘Push All Local Changes…’
-
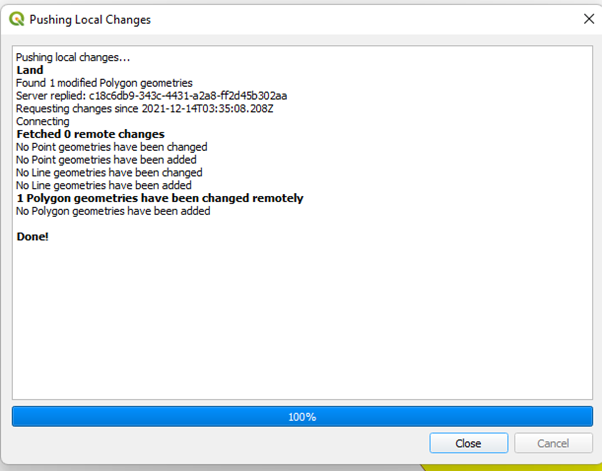
Your changes will then be processed up to the Cloud and reflected there immediatley.
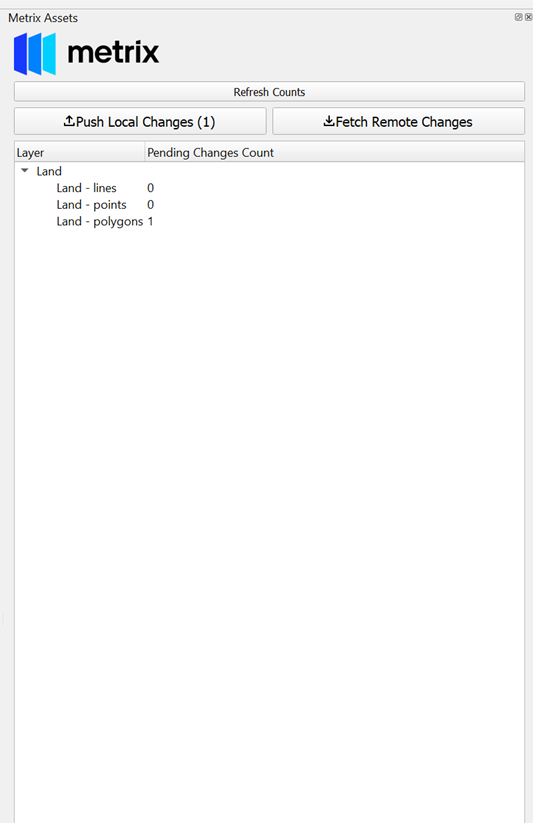
Using the Panel Interface
The Metrix Assets QGIS Plugin also has support for a Panel interface to view the status of your changes per layer. To use this:
-
In the Plugin’s menu bar, ensure ‘Status’ is enabled (ticked).
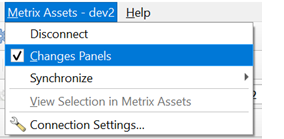
-
When enabled, you will have access to the Metrix Asset’s control panel which shows the sync status of your changes per layer.
Linking to the Cloud Portal
At any time whilst using the Metrix Assets QGIS Plugin, you can view one or many selected assets in the Cloud Portal with a simple click of a button. To do this:
-
Select one or many assets in your layer.
-
From the Plugin’s menu, select ‘View Selection in Metrix Assets’.

-
This will open your default Internet Browser and show you the selected asset(s) in the portal.