Split Assets
To perform a spatial split of an asset and its components, follow these steps:
-
Navigate to the main ‘Assets’ page and make a selection from the map screen.
InfoFor splitting assets, a particular component selection within the asset is not relevant.
-
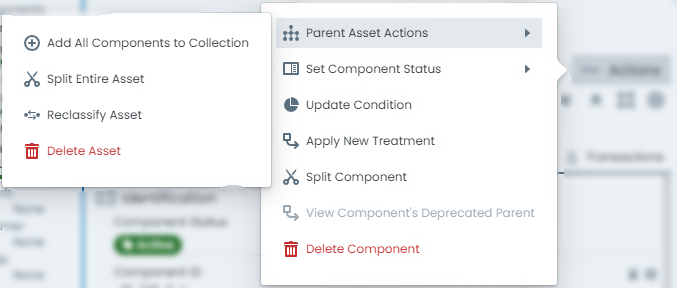
At the top of the info panel, click the ‘Actions’ menu.

-
From the ‘Actions’ menu options, hover or select ‘Parent Asset Actions’ and then choose ‘Split Entire Asset’.
-
A fly-out panel wil appear with tools ready for you to perform the split operation. Refer to the section on Splitting Tools for an overview of this panel.
Draw a split line across your asset in the panel’s map window. Double-click to finish drawing.
InfoMake sure the splitting plane you digitise, crosses the original asset at least once.
Note also, you can split a single feature MULTIPLE times by drawing in a ‘zig-zag’ fashion. This is a great way to create more than two (2) sub-features.
-
Below the map window, use the calendar control to enter the desired posting date which will be used when apportioning any capital value across the split results.
-
Once the posting date is selected, the system will prepare a preview of the split that would be required to suit.

Two or more - depending on the pattern of your digitised split line - asset records, with relevant child components, will be rendered for your review. Each asset and component displays the percentage share that they will demand from the original asset. Further to this, this share is used to calculate the proportion of capital value that each asset component will receive.
When you are happy with the previewed results, click ‘Commit Split (immediate)’
-
This operation does NOT proceed via staged changes, and occurs immediately. You have successfully split your asset and its sub-components.