Financial Re-Categorisation
To perform a financial re-categorisation, firstly, ensure that you understand the purpose and implications of such a process. Then, simply follow these steps.
-
Navigate to the main ‘Assets’ page and make a selection from the map screen.
Ensure the correct asset component is your active selection.
-
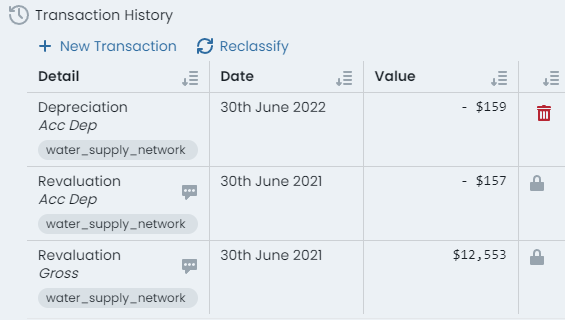
Within the transactions info panel is a section title ‘Transaction History’. It is here that users can see past recorded movements, as well as perform financial re-categorisations.
-
At the top of the ‘Transaction History’ section, click on the ‘Reclassify’ button.
InfoIf the summary table and/or the ‘Reclassify’ button is not displayed for your active component, it typically means that the asset component does not have any transactions posted against it. This therefore indicates that re-categorisation is NOT necessary.
-
A fly-out panel will display, requiring the target finance category and posting date for the change to occur.
-
Enter the posting date for the financial re-categorisation to occur using the calendar input.
-
Select the target finance category from the drop-down list.
-
Provide an optional comment.
-
Click ‘Reclassify’ when ready.
-
This operation does NOT proceed via staged changes, and occurs immediately. You have successfully re-categorised your component.