Using Custom Filters
This document provides an overview on how to filter your asset portfolio using the built-in custom filter tools, including:
Filtering Data
-
To get started using custom filters, navigate to the main ‘Assets’ map in the Metrix Asset Management system.
-
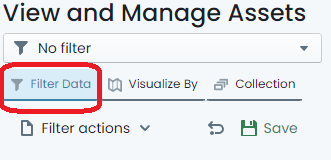
On the left hand side of the page, make sure the ‘Filter Data’ tab is activated.
-
Here, you will see a number of categories that can be used to filter the visible asset components in the map view.
Note: If there is a current filter applied, clear it by following these steps.
-
Choose any category to begin your filter by clicking on the ‘filter pod’ for that category. For example: Click on ‘Condition’.
-
A menu fly-out will appear where you can then further define how you wish to apply the filter using the chosen category. These will typically be represented by checkboxes for restrictions to apply to your portfolio. For example: For condition, you may tick ‘Excellent’. This would restrict the visible asset portfolio to components with a Condition value of ‘Excellent’.
-
Filter conditions can be chained together. Click on another ‘filter pod’ and set some additional restrictions. For example: Click on ‘Residual Life Years’. The fly-out requests that you input two (2) values:
a. The operator (<, >, =), and
b. The value relative to the operator.
Inputting
> 6would restrict the visible components to those with more than 6 years of residual life remaining. -
To remove a specific filter definition, simply uncheck the restriction within that category. For value based filter settings, there is a ‘Reset’ option within the menu fly-out.
Clear the Filter
-
To clear an active filter, simply click the ‘return’ icon at the top of the filter panel. This will remove all of your configured filter settings.
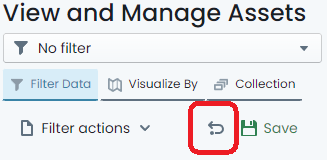
Note: This does not affect the settings of ‘Saved’ filters, but will clear the filter from being active.
Saving/Sharing a Filter Definition
-
The system supports the saving and sharing of filters. To do so, define your filter following the steps above.
-
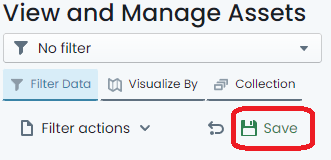
Once you have finished configuring the filter properties, simply click on the ‘Save’ option at the top of the filter panel.
-
A fly-out menu will appear prompting you for a name for the new filter. Input a name for the filter (this is how you will find it later).
-
To opt to allow other system users to see the filter you have defined, toggle the ‘Shared’ control. By default, filters are private and NOT shared.
-
When you are done, click ‘Save’. The filter is now saved under that name. If you shared the filter, other users will see it in the ‘Filter Drop-Down’ at the top of the panel.
Using Save Filters
-
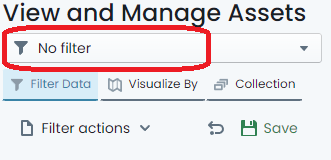
To use a predefined filter that you have saved, or another user has saved and shared, simply expand the drop-down menu at the top of the filter panel.
-
Here you will find a list of filters that can be applied. If you already have a saved filter applied, it will be highlighted in this menu.
-
To stop using the filter, either clear it, or select ‘No Filter’ from the ‘Filter Drop-Down’.
InfoThe ‘Filter Drop-Down’ menu also contains a section for filters that were defined using a collection set. These can be accessed from the ‘Collection’ tab of the menu. More information on saving collection sets as filters can be found here.
Deleting a Saved Filter Definition
-
At any time, the user who created a custom filter, can delete that custom filter definition. This includes shared filters.
-
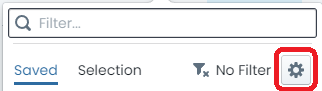
To delete a saved filter, click on the ‘Settings’ cog in the ‘Filter Drop-Down’ menu.
-
A dialog detailing each saved filter available to the user will then be displayed. Next to each of the filters in the table, is a button to ‘Delete’ the filter from the system. Click this button to delete the filter.
InfoIf the ‘Delete’ button is not visible, or deactivated, it means that you do not own the filter.
Filter Actions
-
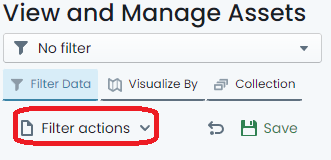
The ‘Filter’ panel also contains short-cuts to a few reports that can be generated using the current filter definition as a filter.
-
To use these action short-cuts, simply click on the ‘Filter actions’ menu at the top of the filter panel.
-
From the menu, choose which report you would like to generate.
InfoThe filter does NOT have to be saved in order to generate a report in this fashion.