Create a Linked Spend
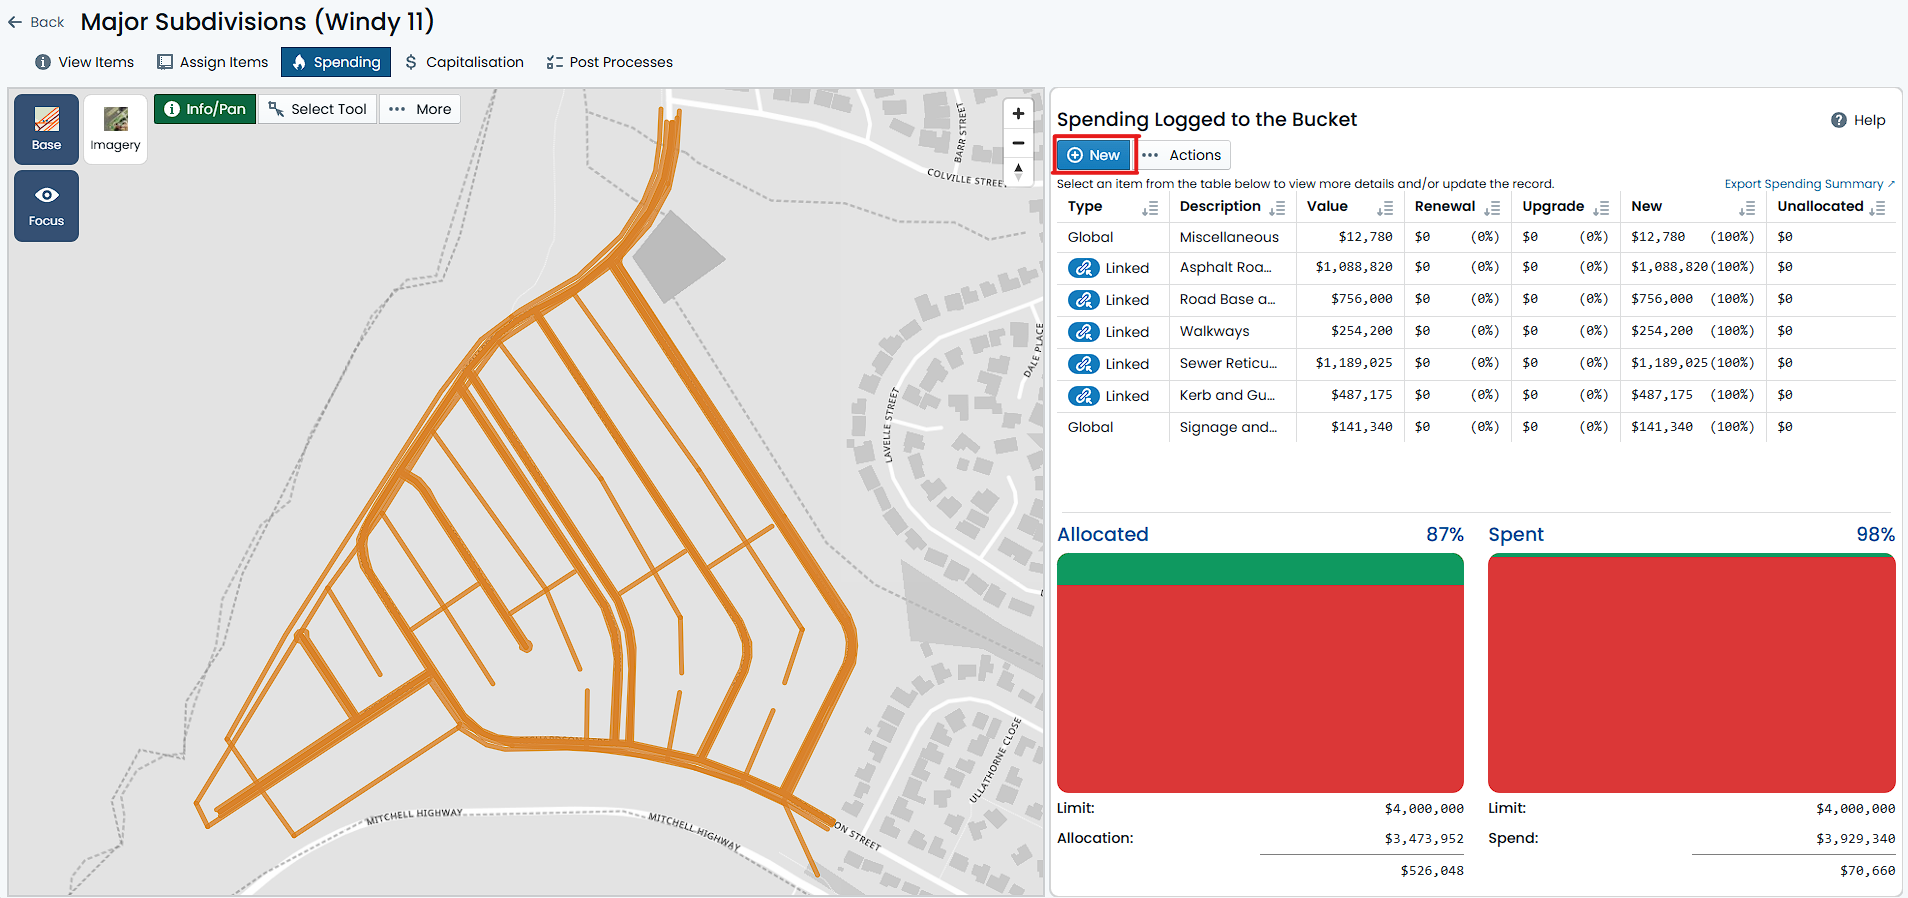
To create a Linked Spend within a Budget Bucket, you must have navigated to the desired Budget Bucket and selected the ‘Spending’ tab from the Buckets navigation pane. This page is divided into two sections. The left-hand side contains a map window showing the Budget Bucket Items. The right-hand side contains a summary view of any spends that have been ascribed to the Budget Bucket already.
To create a Linked Spend, follow these steps:
-
From the ‘Spending’ tab of the Budget Bucket, click the ‘New’ button in the top-left corner of the right-hand side summary view.
-
The ‘Log Spend’ form will appear, and by default, the ‘Spend Type’ will be set to ‘Global’. This MUST be changed to ‘Spend Linked to Budget Item(s)’.
-
For the remaining fields, fill in the following as it pertains to your situation:
-
Spend Value: Enter the value of the spend in this numeric field. This is a required field, so you must enter a value.
-
Capitalisation Allocation Overrides: Enter any OVERRIDES to the Budget Bucket Capitalisation Shares in these fields. This is an optional field and should only be used if the Spend shares differ from that of the Budget Bucket. Make sure the total of the entered overrides equate to 100%.
-
Description: Enter a description of the spend in this text field. This is an optional field, but it is recommended that you enter a description to help identify the spend later.
-
External Ref: Enter an external reference for the spend in this text field. This is an optional field.
-
Comment: Enter a comment for the spend in this text field. This is an optional field.
-
-
Now it is time to Link the spend to one or more Budget Bucket Items. With the spend form still active, use the map tools in the left-hand side map window to navigate and select a Budget Bucket Item that you wish to link to.
InfoThe selection pattern for this map window is based on Budget Bucket Items rather than Assets (as is the case for the Assign tab). This means that you may encounter stacked Component Items (that relate to a single Asset) resulting in a Multi-Selection.
It can be useful to FILTER the map to show only the Items you wish to link to. For information regarding filtering the map, see Filtering the Spend Map.
From the map, there are two modes supported for linking a spend to a Budget Bucket Item:
- Single Selection: Click on a single Budget Bucket Item you wish to link to. The selected item will be highlighted in blue, and the ‘Link to Spend’ button will be shown at the top of the Info Panel. Toggle the ‘Link to Spend’ switch to link the selected item to the spend.
- Multi-Selection: Click and drag a box around multiple Budget Bucket Items you wish to link to. The selected items will be highlighted in blue, and the ‘Link to Spend’ button will again be shown at the top of the Info Panel. This time, the toggle switch is referring to all the Items within your selection set. Toggle the ‘Link to Spend’ switch to link all selected items to the spend.
Additionally, there are some shortcut methods available for linking a spend to one or more Budget Bucket Items. These are available from the menu button (labelled, ‘Shortcuts’) just below the ‘Spend Type’ selector from step 2 above. The following shortcut options are available:
- Link All Items: This will link all Budget Bucket Items CURRENTLY assigned to the bucket, to the spend. This is useful if you are creating a spend that relates to all items within the Budget Bucket, but you do not wish to make it global - to protect against future Item adjustments.
- Link Filtered Items: This will link all Budget Bucket Items that are currently filtered within the map to the spend. This is useful if you are creating a spend that relates to a subset of items within the Budget Bucket.
- Unlink All Items: This will unlink all Budget Bucket Items from the spend. This can be useful for ‘restarting’ your spend selections.
- Unlink Filtered Items: This will unlink all Budget Bucket Items that are currently filtered within the map from the spend. This is useful for refining away linked items.
-
Linked Items will appear in the ‘Linked Items’ section of the form. You can remove a linked item by clicking the trash can icon next to the item in the list. This will remove the link from the spend, but will not delete the Budget Bucket Item itself.
-
Once you entered a Spend Value and linked at least one (1) item, you can click the ‘Save’ button at the top of the form to save the spend.
The new Linked Spend will now appear in the right-hand side summary view of the Budget Bucket’s Spending tab. The spending summary gauge will also react accordingly to reflect the new spend.