Reclassification
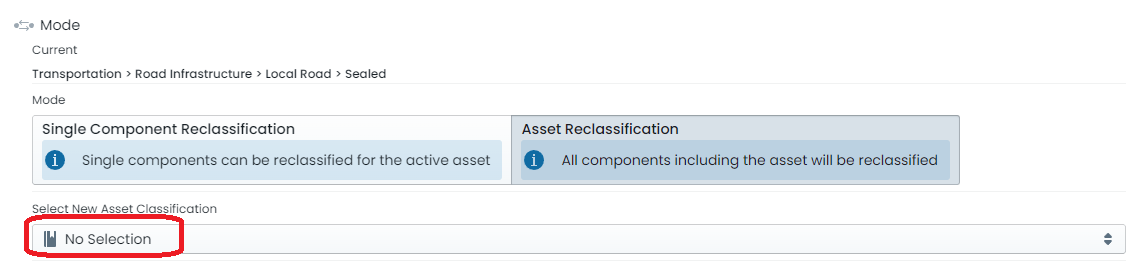
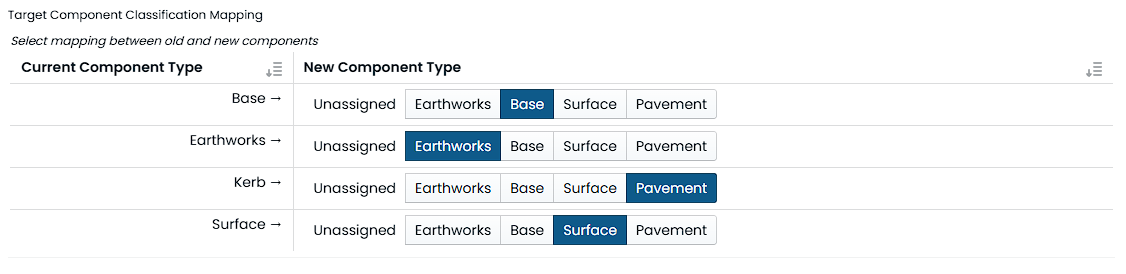
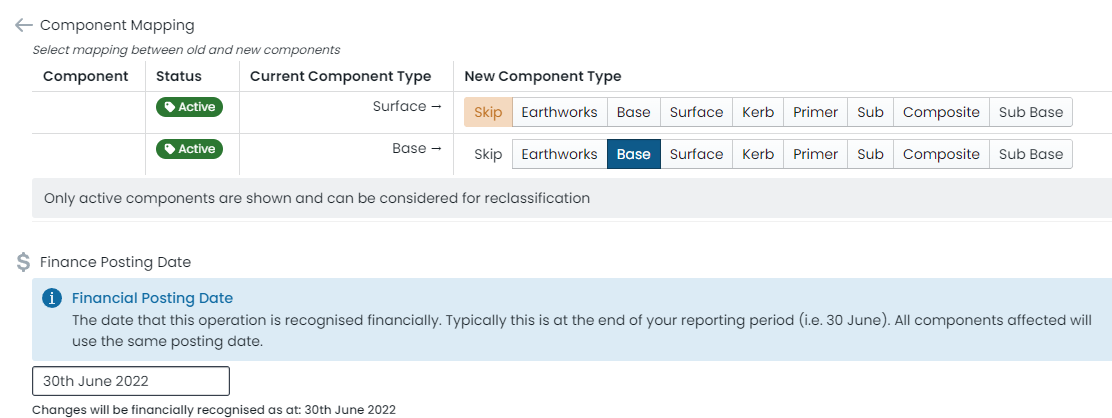
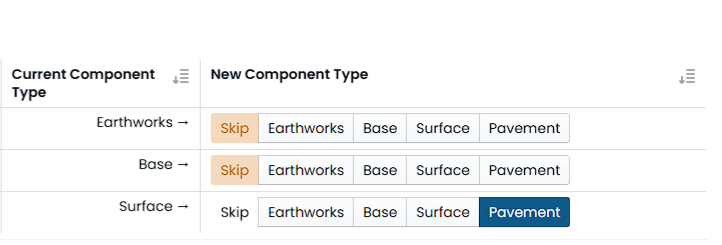
From time to time, an organisation’s asset infrastructure will undergo different purposes - or data management practices may adjust. In these cases, it can become necessary to Reclassify Assets and/or Components to different Asset Classifications (or Component Types). This section provides an overview on two different methods supported by the Metrix Asset Management system to perform Reclassification of Assets (including the Asset Components) or Components.
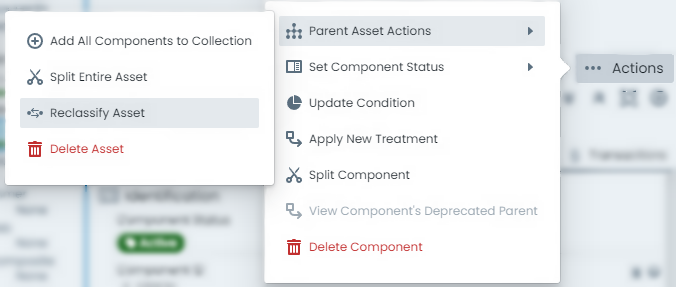
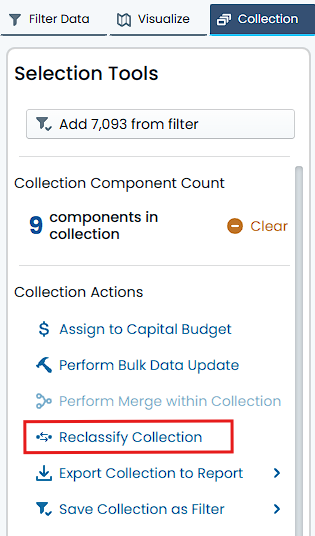
The Reclassification tool can be used on a single Asset at a time, or on an entire Collection of Assets.
For a basic overview of how reclassification works, please see the video below: