Bulk Un-Assign Budget Items
To unassign many Component Items from a Budget Bucket, you must have navigated to the desired Budget Bucket, and have selected the parent Assets of the Components you want to unassign. See Selecting Items for detailed instructions on doing this.
Like Bulk Assignment, Bulk Unassignment will group all selected Assets by their Asset Classification, and then by their Component Group. It is not possible to use the Bulk Unassignment method in groups other than Component Group level. Users should be conscious of this when finalising their selection set.
To unassign Component Items from a Budget Bucket, follow these steps:
-
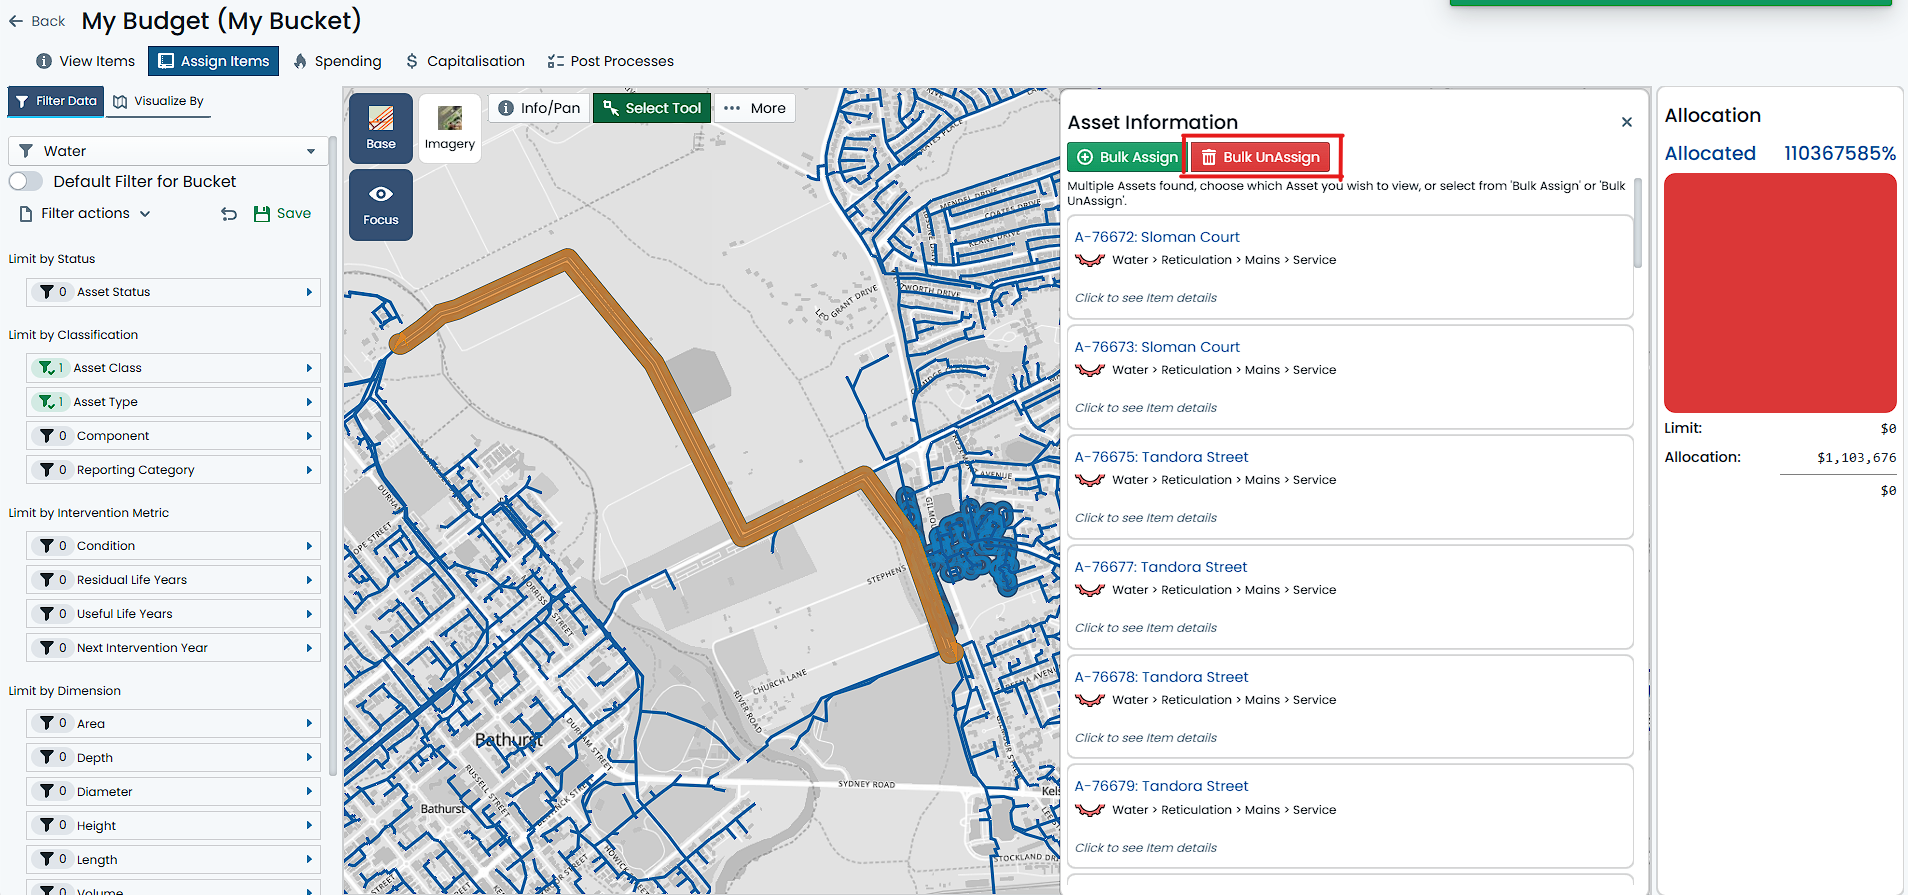
Make a selection of multiple Assets from the map using the above-mentioned methods. You will know that you have a multiple selected Assets when they are highlighted in blue on the map, and a list of Assets are displayed in the right-hand Info Panel.
-
Once multiple Assets are selected, you will see an option to ‘Bulk UnAssign’ at the top of the Info Panel. Click on this option.
-
A dialog window will appear with some options for refinement of the selected Assets. For each unique Asset Classification, you will be offered a choice to ‘Include’ or ‘Exclude’ the one or more Component Groups within that classification. By default, all Component Groups are marked as ‘Included’ - that is, all currently selected Items will be removed by default. To ‘Include’ a Component Group for unassignment, click on that Component Group tile. The tile will change colour. To ‘Exclude’ it (saving it from unassignment), simply click on it again and the tile will revert to no colour.
ExampleIn this process, ‘Include’ means that you with to ‘Include the Component Group for Unassigning’ from the Budget Bucket. ‘Exclude’ means that you do NOT wish to Unassign any Items associated with the Component Group from the Budget Bucket.
Your selection may contain Sewer Reticulation Mains and several Local Sealed Roads, all of which are currently assigned to the Budget Bucket. In this case, you may see the following options (represented by gridded tiles):
- Sewer > Reticulation > Mains > Gravity
- Pipe
- Manhole
- Transportation > Roads > Local Road > Sealed
- Earthworks
- Pavement
- Surface
In the above, you could elect to Unassign just the Sewer Manhole Components (by ‘Including’ the Manhole Component Group), or you could Unassign all Sealed Road Components (by ‘Including’ the Earthworks, Pavement and Surface Component Groups).
- Sewer > Reticulation > Mains > Gravity
-
Once you have marked items to be ‘Included’ for unassignment by clicking on their Component Group tile, you can then click the ‘Remove Filtered Component Types’ button at the bottom of the dialog window.
The Components have now been unassigned from the Budget Bucket. If any of the Items had a budgeted treatment method amounting to a cost, the Buckets Allocation gauge will react accordingly.
When selecting Component Group tiles, you may notice that the tile indicates that there ar ‘X’ Assigned in Selection and ‘Y’ Selected Items not Assigned. This means that there are ‘X’ number of Components of that Component Group in your selection set that are indeed assigned to the Budget Bucket, and ‘Y’ number of those Components that are not assigned to the Budget Bucket.
Clearly, you cannot unassign a Component that is not assigned to the Budget Bucket. Don’t worry, the system will handle this for you and skip over any items not assigned already.